- Original Blooming Lucky guide
- Beginner friendly
- Real garden plants only
What are plant cuttings?
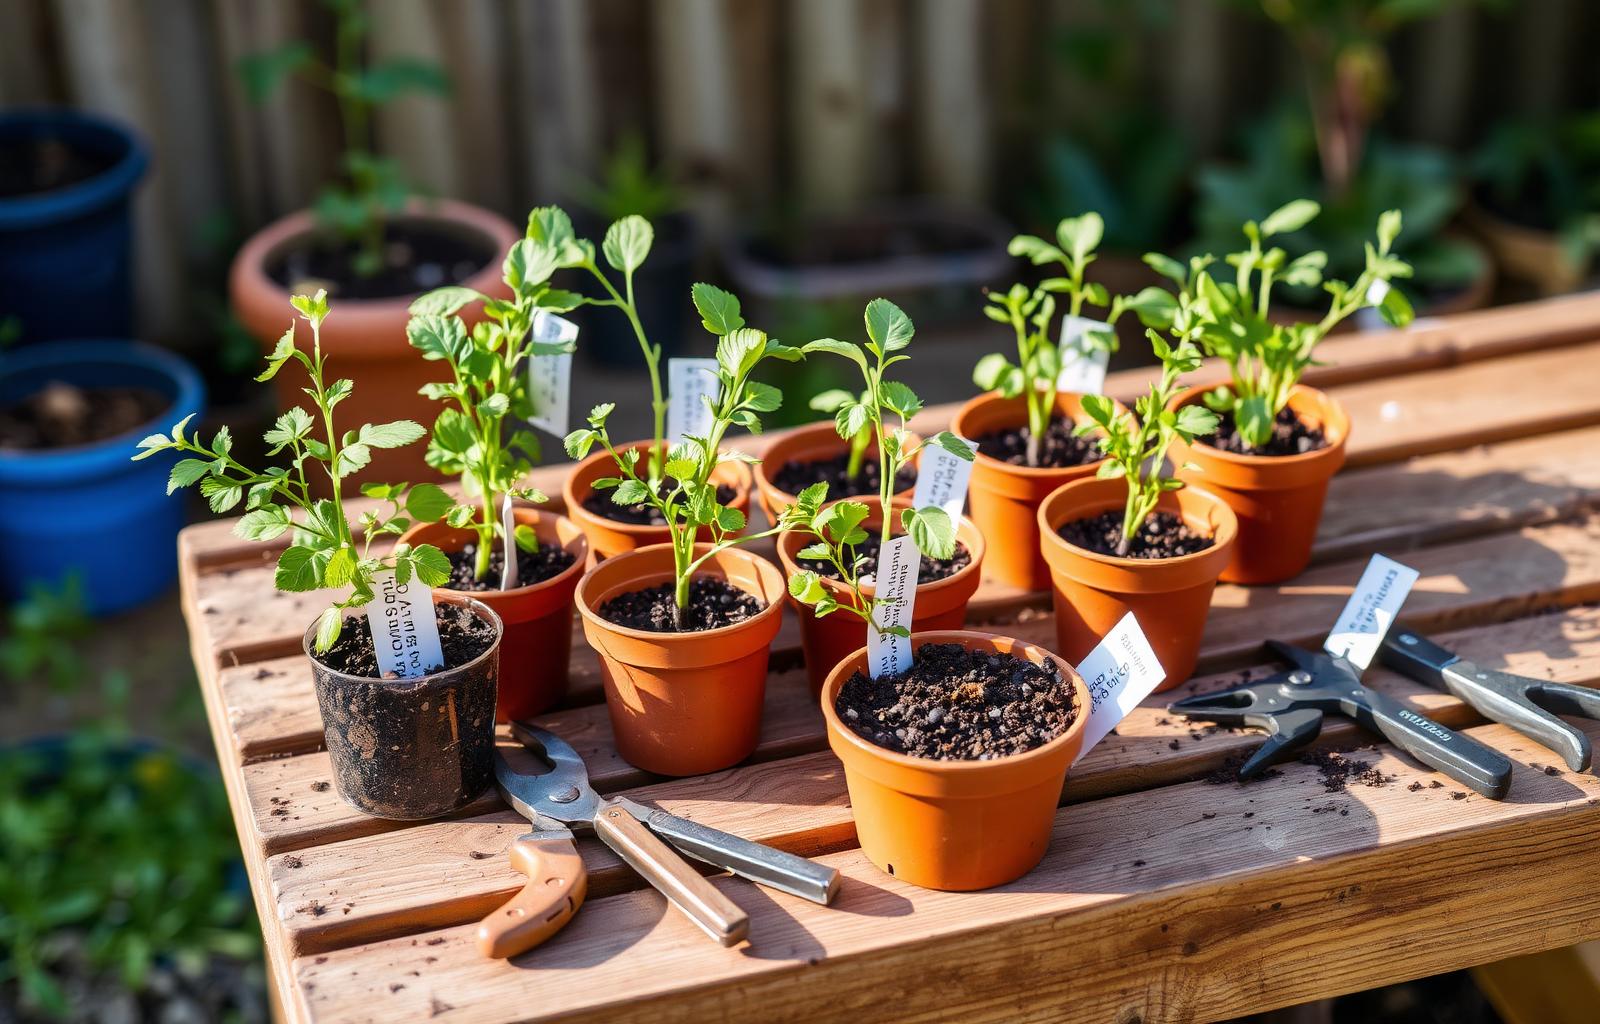
A plant cutting is a piece of plant material used to grow a new plant. Cuttings can come from stems, soft shoots, semi-ripe wood, hardwood stems, roots, or leaves, and not every plant roots the same way. Some plants will start roots in a glass of water on a windowsill; many garden plants do better in a small pot of free-draining compost. Success depends on plant type, timing, moisture, temperature, and the care a cutting gets while it is making roots.
Good cutting material should be
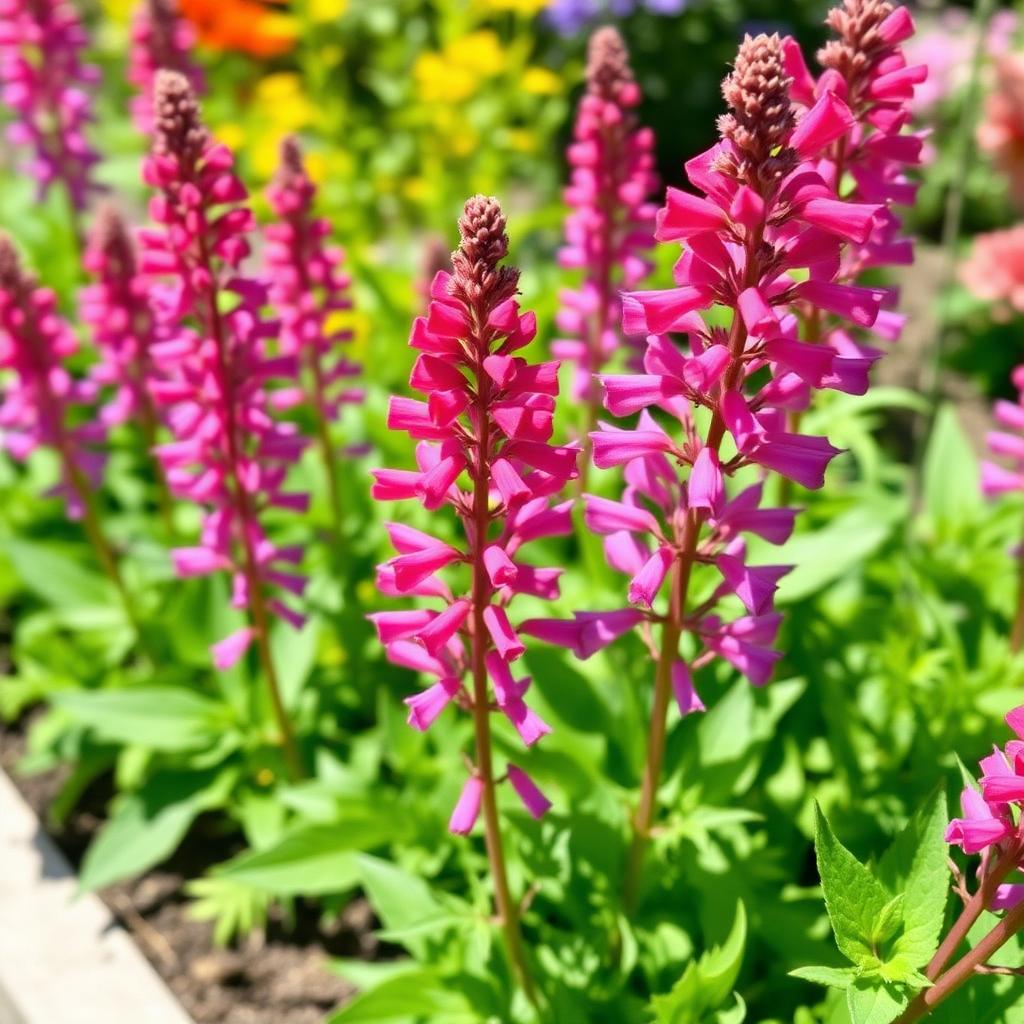
- Healthy and pest-free
- Not badly wilted before you cut it
- Not too old or hard, unless taking hardwood cuttings
- Not too soft and floppy, unless taking softwood cuttings
- Ideally non-flowering for many stem cuttings
- Taken with clean tools
- Prepared quickly so the cut piece does not dry out
Best plant cutting methods at a glance
Different plants suit different cutting methods, and the same plant can sometimes be propagated more than one way depending on the season. The table below shows the main options side by side so you can see how stem, softwood, semi-ripe, hardwood, root, leaf, water, and compost cuttings compare, plus two related methods (division and layering) that are useful to know about.
| Method | Best for | Best timing | Rooting medium | Difficulty | Typical speed | Why it works |
|---|---|---|---|---|---|---|
| Stem cuttings | Many soft and shrubby plants | Spring to early autumn | Free-draining cutting compost | Easy | Weeks | Most versatile beginner method; roots form in the growing medium. |
| Softwood cuttings | Fast-growing soft shoots | Spring to early summer | Cutting compost with gentle humidity | Easy | 1–4 weeks in warmth | Young tissue roots quickly but wilts fast if left exposed. |
| Semi-ripe cuttings | Shrubs and tender perennials | Summer to early autumn | Free-draining cutting compost | Easy | A few weeks to a couple of months | Firmer base resists rot; soft tip still roots reliably. |
| Hardwood cuttings | Many deciduous shrubs | Late autumn into winter | Sheltered trench or deep pot of gritty soil | Patient | Several months | Dormant wood roots slowly but steadily with little fuss. |
| Root cuttings | Plants that regrow from roots | Dormant season | Free-draining compost just covered | Moderate | Weeks to months | Uses stored energy in roots to push new shoots and roots. |
| Leaf cuttings | Many succulents and some houseplants | Active growing season | Gritty compost, lightly moist | Moderate | Weeks to months | Suitable leaves form a small plant from the base. |
| Water cuttings | Soft-stemmed plants and some herbs | Any active growth period | Clean room-temperature water | Easy | Days to weeks for visible roots | Easy to monitor; move to compost while roots are short. |
| Compost cuttings | Most garden plants | Matches the cutting type | Free-draining cutting compost | Easy | Matches the cutting type | Roots form in the medium they will grow in; less transplant shock. |
| Division (related) | Clump-forming perennials | Spring or autumn | Planted straight back into soil | Easy | Immediate plants | Splits an existing plant into multiple rooted pieces rather than rooting new tissue. |
| Layering (related) | Plants with flexible stems | Growing season | Stem pinned into soil while still attached | Easy | Weeks to months | Stem roots while the parent plant still feeds it; very forgiving. |
Stem cuttings
Easy- Best for
- Many soft and shrubby plants
- Timing
- Spring to early autumn
- Medium
- Free-draining cutting compost
- Speed
- Weeks
- Why
- Most versatile beginner method; roots form in the growing medium.
Softwood cuttings
Easy- Best for
- Fast-growing soft shoots
- Timing
- Spring to early summer
- Medium
- Cutting compost with gentle humidity
- Speed
- 1–4 weeks in warmth
- Why
- Young tissue roots quickly but wilts fast if left exposed.
Semi-ripe cuttings
Easy- Best for
- Shrubs and tender perennials
- Timing
- Summer to early autumn
- Medium
- Free-draining cutting compost
- Speed
- A few weeks to a couple of months
- Why
- Firmer base resists rot; soft tip still roots reliably.
Hardwood cuttings
Patient- Best for
- Many deciduous shrubs
- Timing
- Late autumn into winter
- Medium
- Sheltered trench or deep pot of gritty soil
- Speed
- Several months
- Why
- Dormant wood roots slowly but steadily with little fuss.
Root cuttings
Moderate- Best for
- Plants that regrow from roots
- Timing
- Dormant season
- Medium
- Free-draining compost just covered
- Speed
- Weeks to months
- Why
- Uses stored energy in roots to push new shoots and roots.
Leaf cuttings
Moderate- Best for
- Many succulents and some houseplants
- Timing
- Active growing season
- Medium
- Gritty compost, lightly moist
- Speed
- Weeks to months
- Why
- Suitable leaves form a small plant from the base.
Water cuttings
Easy- Best for
- Soft-stemmed plants and some herbs
- Timing
- Any active growth period
- Medium
- Clean room-temperature water
- Speed
- Days to weeks for visible roots
- Why
- Easy to monitor; move to compost while roots are short.
Compost cuttings
Easy- Best for
- Most garden plants
- Timing
- Matches the cutting type
- Medium
- Free-draining cutting compost
- Speed
- Matches the cutting type
- Why
- Roots form in the medium they will grow in; less transplant shock.
Division (related)
Easy- Best for
- Clump-forming perennials
- Timing
- Spring or autumn
- Medium
- Planted straight back into soil
- Speed
- Immediate plants
- Why
- Splits an existing plant into multiple rooted pieces rather than rooting new tissue.
Layering (related)
Easy- Best for
- Plants with flexible stems
- Timing
- Growing season
- Medium
- Stem pinned into soil while still attached
- Speed
- Weeks to months
- Why
- Stem roots while the parent plant still feeds it; very forgiving.
When to take plant cuttings
Timing matters because the same plant can be flexible in one season and stubborn in another. As a general guide, softwood cuttings come from young flexible growth in spring and early summer, semi-ripe cuttings come from firmer current-season shoots from summer into early autumn, and hardwood cuttings come from dormant woody stems from late autumn into winter. Many root cuttings are taken during the dormant season. Soft-stemmed herbs and some houseplants can be cut at almost any active growth period if conditions are right.
Morning is often a useful time to take cuttings because stems are well hydrated. Avoid taking cuttings from drought-stressed or heat-stressed plants, and avoid the middle of a hot sunny day.
Practical timing card
- Spring to early summer: softwood cuttings from many shrubs and perennials
- Summer to early autumn: semi-ripe cuttings from firming current-season shoots
- Late autumn to winter: hardwood cuttings from suitable woody plants
- Dormant season: many root cuttings, where the plant suits the method
- Any suitable active growth period: soft-stemmed herbs and some houseplants
Always check the specific plant
What you need before taking cuttings
You do not need specialist equipment for most cuttings, but a few basics save a lot of trouble. Set everything up before you start so a fresh cutting goes into a pot within minutes rather than wilting on a bench.
- Clean sharp bypass pruners or propagation snips
- Small pots, around 9 to 11 cm
- Free-draining seed and cutting compost
- Perlite or grit if your mix needs more drainage
- Water
- Plant labels
- A pencil or dibber to make planting holes
- A clear cover or vented propagator, where appropriate
- A bright sheltered place out of harsh sun
- Rooting hormone, optional
Clean tools, fresh compost
How to take stem cuttings step by step
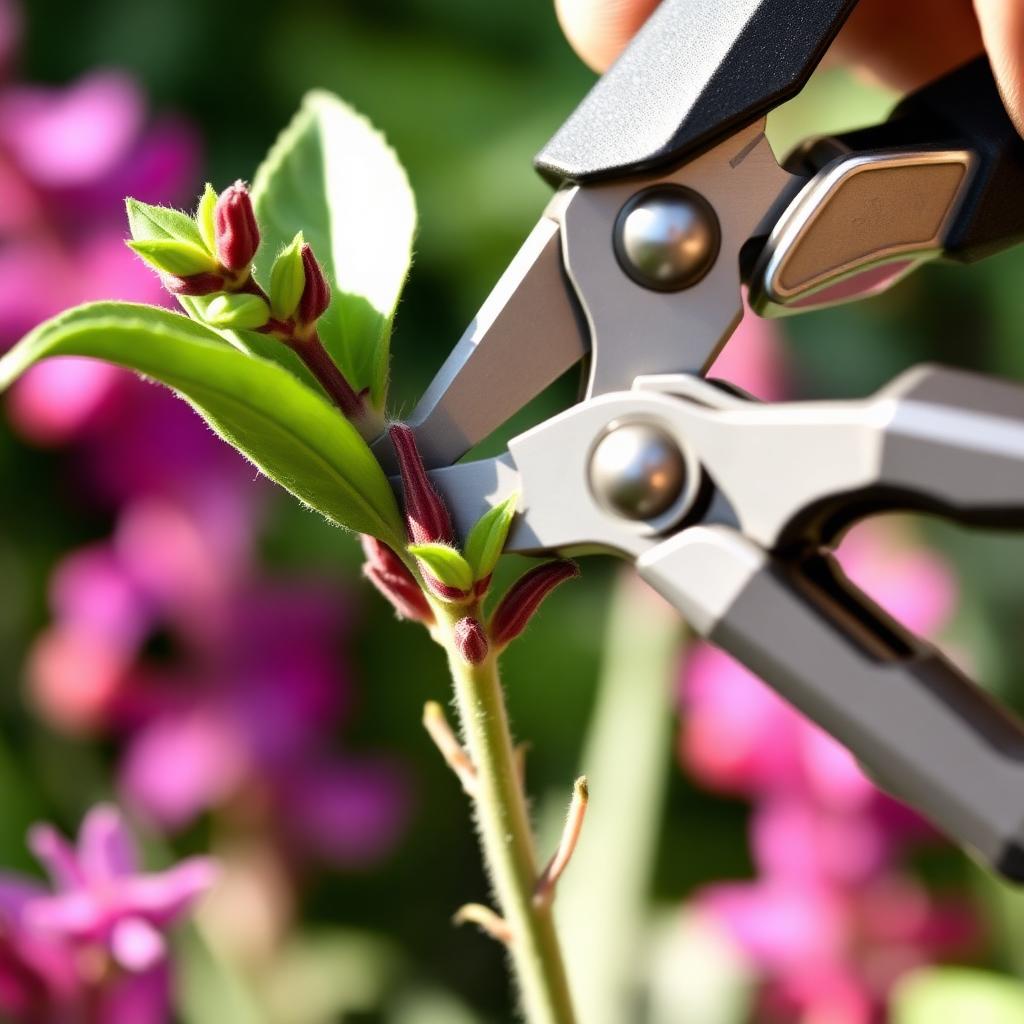
Stem cuttings are the most common beginner method. The steps below cover a typical soft to semi-ripe stem cutting, suitable for many garden plants and herbs. Work calmly, keep cut material out of harsh sun, and prepare a small batch well rather than rushing a large one.
- Water the parent plant if it is dry, the day before is ideal
- Choose healthy non-flowering growth from a strong plant
- Cut cleanly below a leaf joint or node where appropriate
- Trim the cutting to a sensible short length, often around 8 to 12 cm
- Remove the lower leaves so a clean section of stem goes into the compost
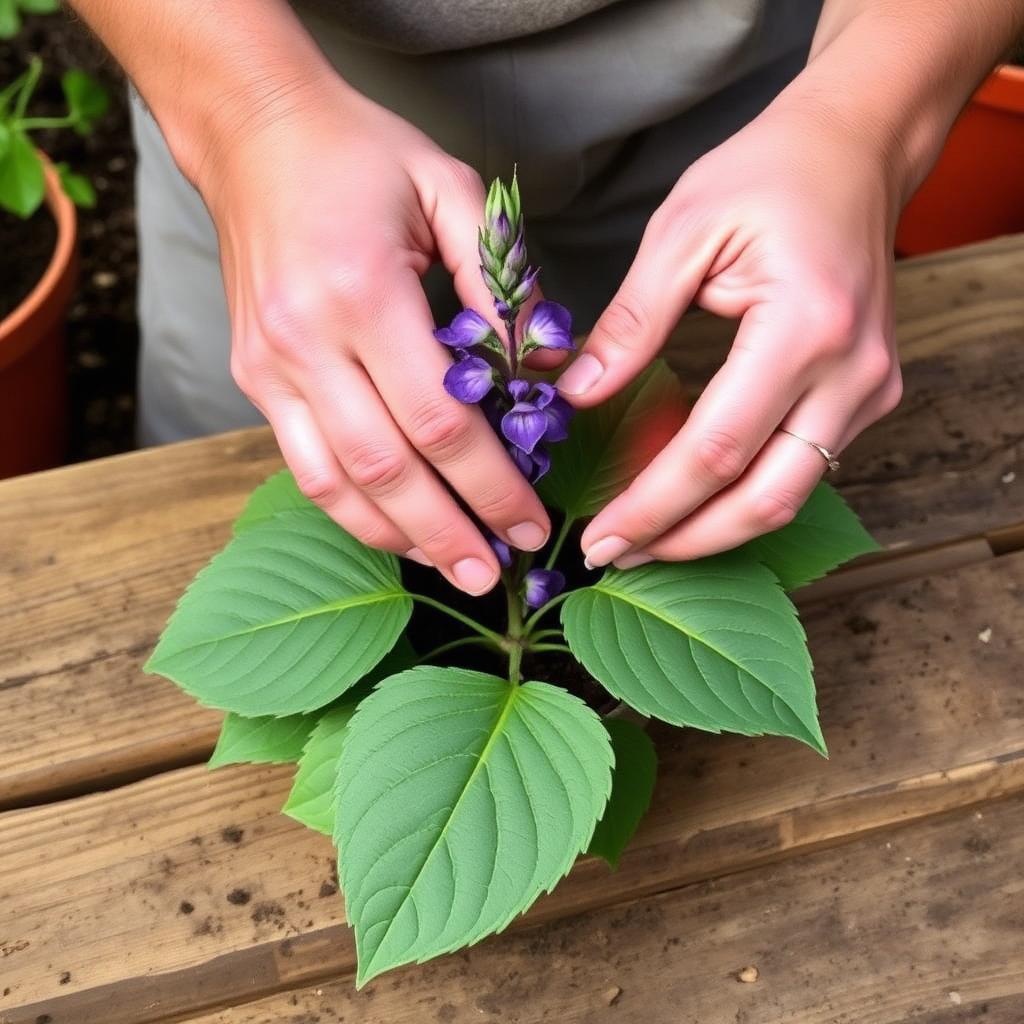
- Remove any flowers or flower buds
- Trim very large remaining leaves in half if needed to reduce water loss
- Make a hole in free-draining compost with a dibber or pencil
- Insert the cutting and firm gently around the stem
- Water lightly so the compost settles, not so much that it puddles
- Place in bright indirect light, sheltered from harsh sun and strong wind
- Keep the compost lightly moist, not wet
- Pot on individually once roots form and the cutting holds a small root ball
Take a few extras
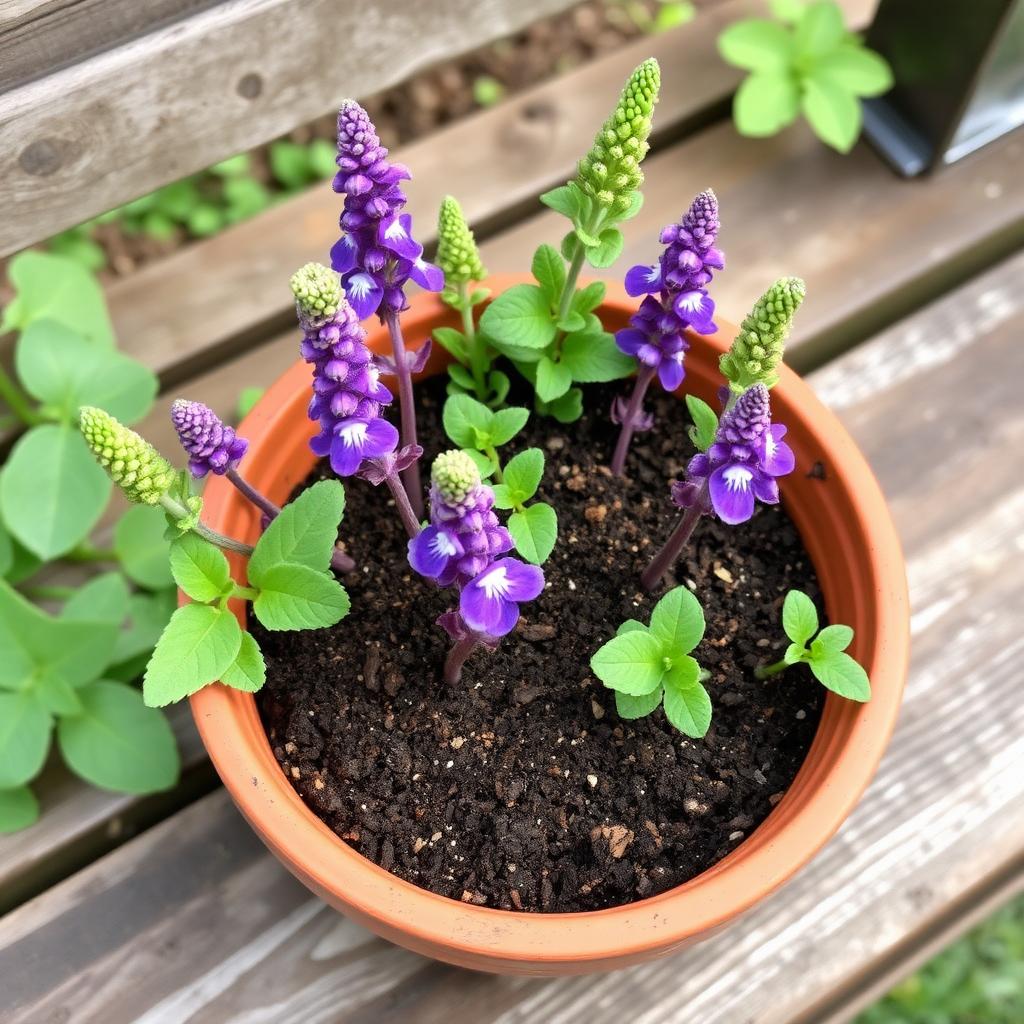
Softwood cuttings
Softwood cuttings are taken from young, flexible growth, typically in spring and early summer. They can root quickly when conditions are warm and humid, but they are vulnerable because soft tissue dries out fast. Speed and gentle conditions are the key to success.
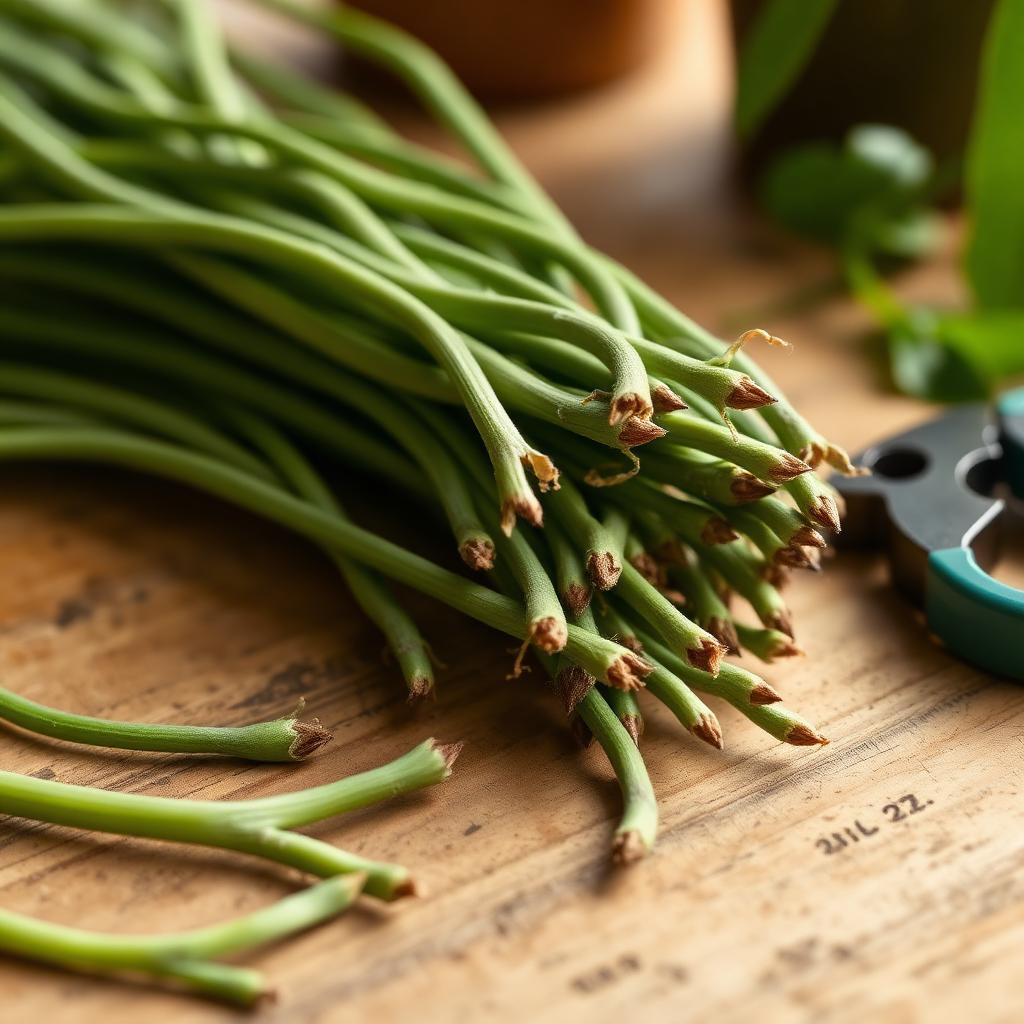
- Take cuttings in the cool of the morning, not in midday heat
- Prepare quickly so soft tissue does not wilt before planting
- Use free-draining cutting compost in a small pot
- Keep cuttings in bright indirect light, never harsh sun
- Maintain gentle humidity with a vented cover if the air is dry
- Keep the compost damp, not soggy
- Watch for early wilt and shade if needed
Softwood cuttings need speed
Semi-ripe cuttings
Semi-ripe cuttings come from current-season shoots that have started to firm at the base but are still soft at the tip. They are a useful all-rounder for many shrubby and tender perennial plants, less floppy than softwood cuttings and less slow than hardwood cuttings.
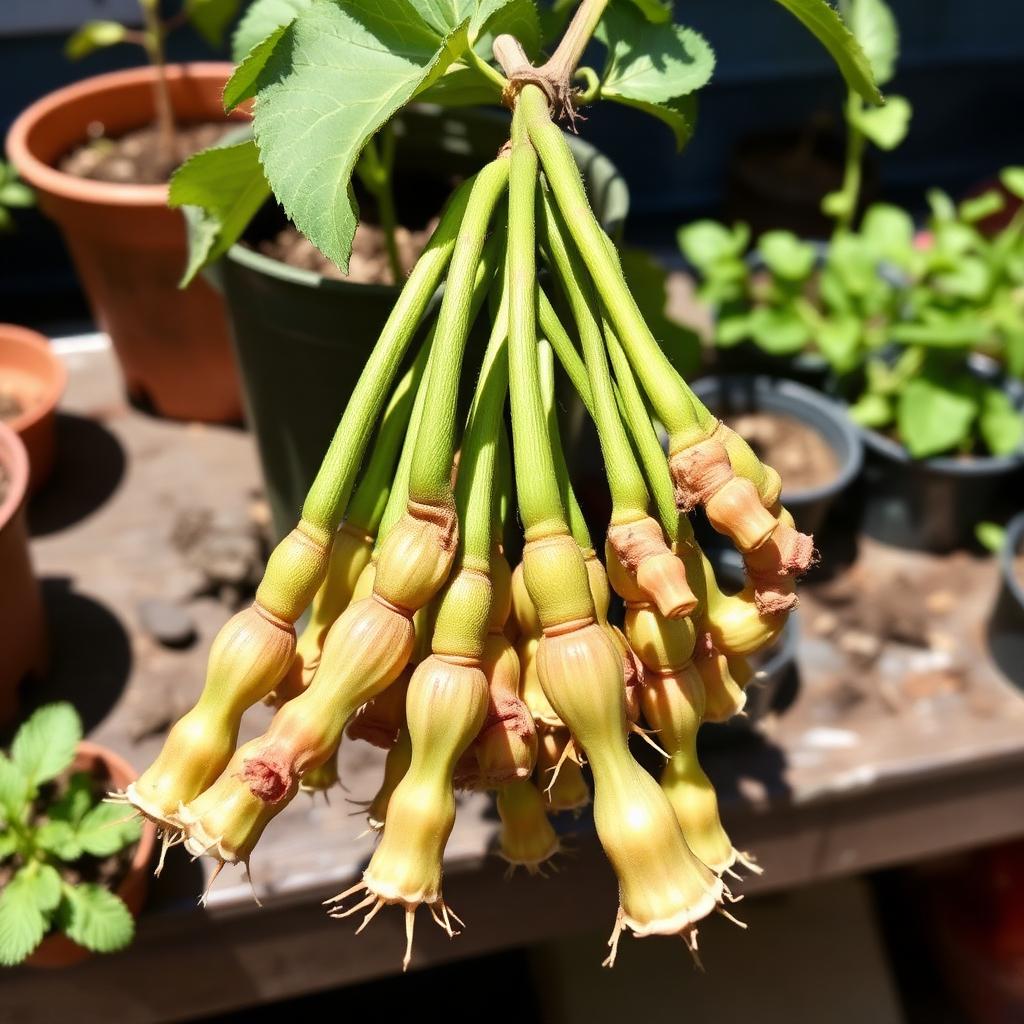
- Choose firm but flexible side shoots, not the softest tips or oldest wood
- Take heel cuttings for some shrubs by pulling a side shoot off with a small sliver of older wood
- Use free-draining cutting compost in a small pot
- Insert several cuttings around the edge of the pot
- Provide gentle humidity with a vented cover
- Keep in bright indirect light and steady moisture
- Be patient; semi-ripe cuttings often take a few weeks to a couple of months
Hardwood cuttings
Hardwood cuttings are taken from mature dormant woody stems, typically in late autumn or winter. They are slower than softwood cuttings but simple and forgiving for many suitable shrubs and some trees. The pieces look unpromising at first but quietly root over the cool months.
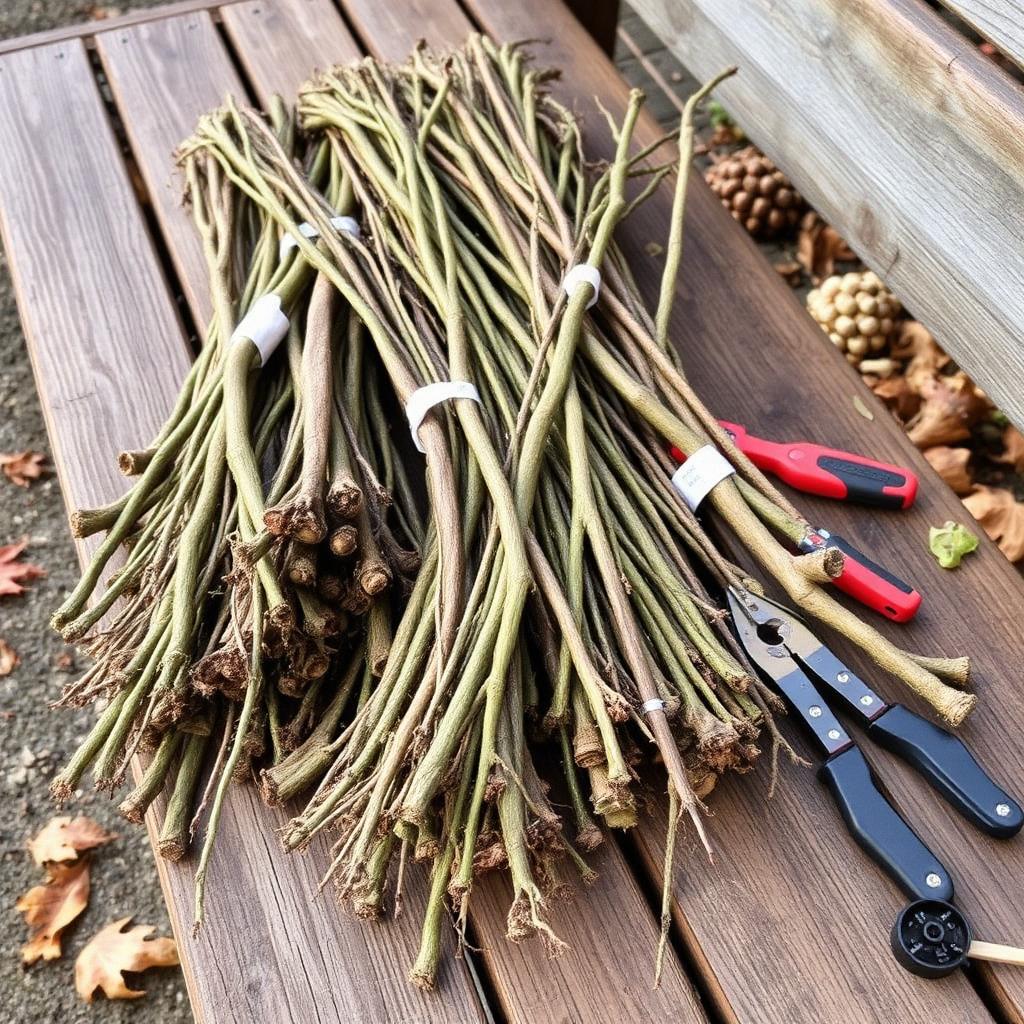
- Choose pencil-thick dormant stems from this year's healthy growth
- Cut into sections, keeping the correct orientation so the right end goes down
- Insert into a sheltered outdoor trench backfilled with gritty soil, or into a deep pot
- Leave the top buds just showing above the soil
- Label everything; leafless cuttings look almost identical
- Be patient; rooting can take months over autumn and winter
- Lift carefully in spring or the following autumn once well rooted
Hardwood is slow, not difficult
Root cuttings
Root cuttings use pieces of root from plants that can regrow from root sections. This is not suitable for every plant, so it is worth checking before you cut into a healthy root system. When the plant is suited, root cuttings can produce strong young plants from a small amount of material.
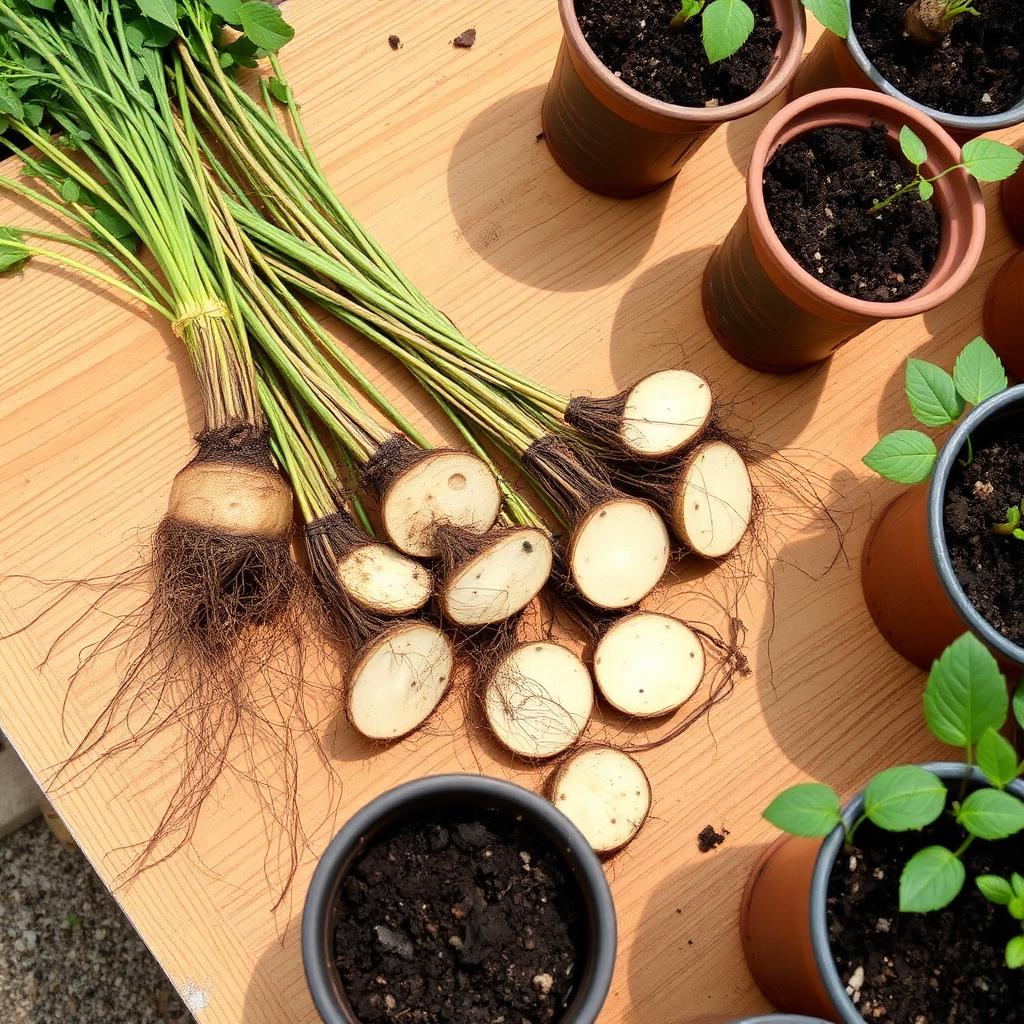
- Check that the plant can be propagated from roots before you start
- Lift or expose a section of root from a healthy parent plant
- Use healthy firm roots, not soft brown ones
- Keep the correct orientation for thicker roots where needed
- Cover lightly with free-draining compost
- Keep moist but not wet through the dormant season
- Do not take so much that you weaken the parent plant
Check the plant first
Leaf cuttings
Some plants can grow from leaves or leaf sections, especially many succulents and a few indoor plants. Leaf cuttings are not universal, and even when they root, some leaves only form roots without producing a new plant unless a node or suitable tissue is present.
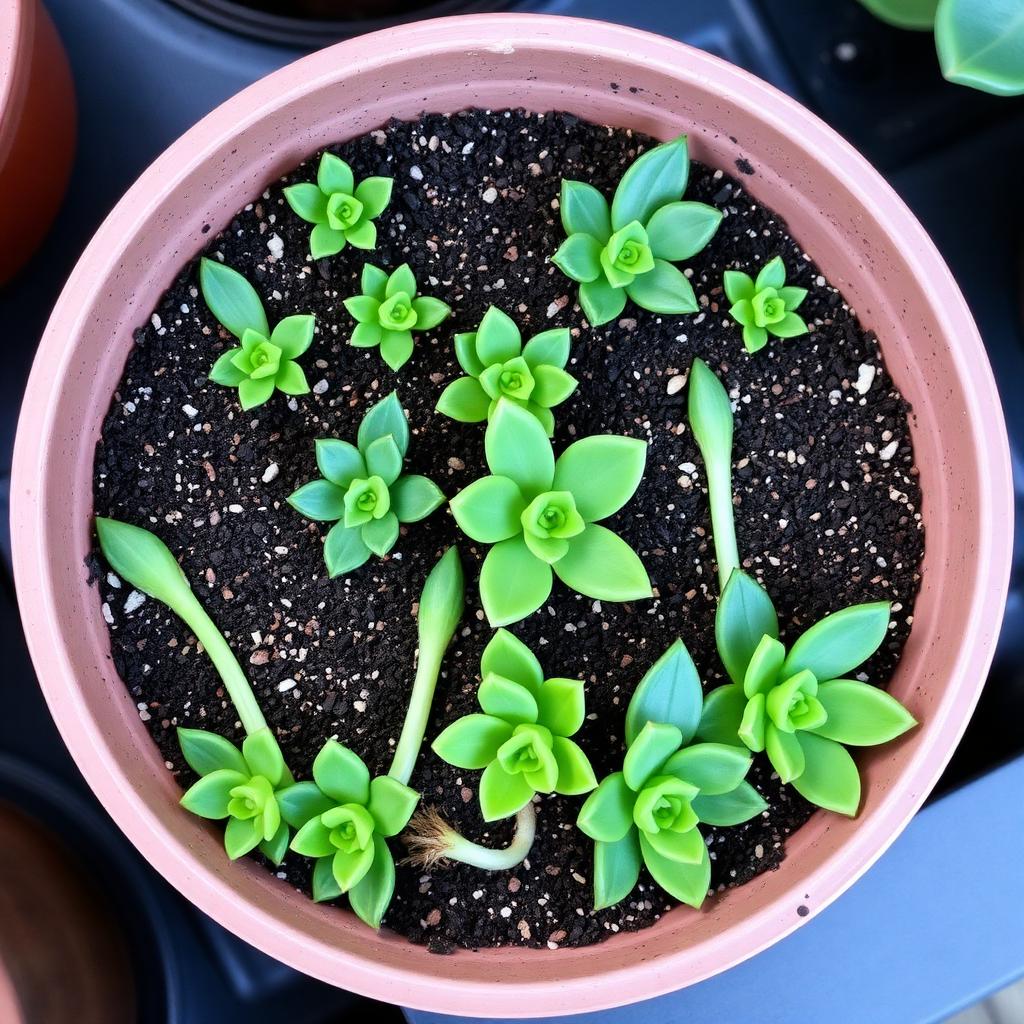
- Use healthy unblemished leaves
- For many succulents, let the cut surface callus for a day before placing on compost
- Use gritty free-draining compost or a cactus mix
- Keep moisture gentle; soggy compost is the main cause of failure
- Avoid burying leaves too deeply
- Keep in bright indirect light, not harsh sun
- Be patient; small plantlets form slowly at the base
Cuttings in water vs compost
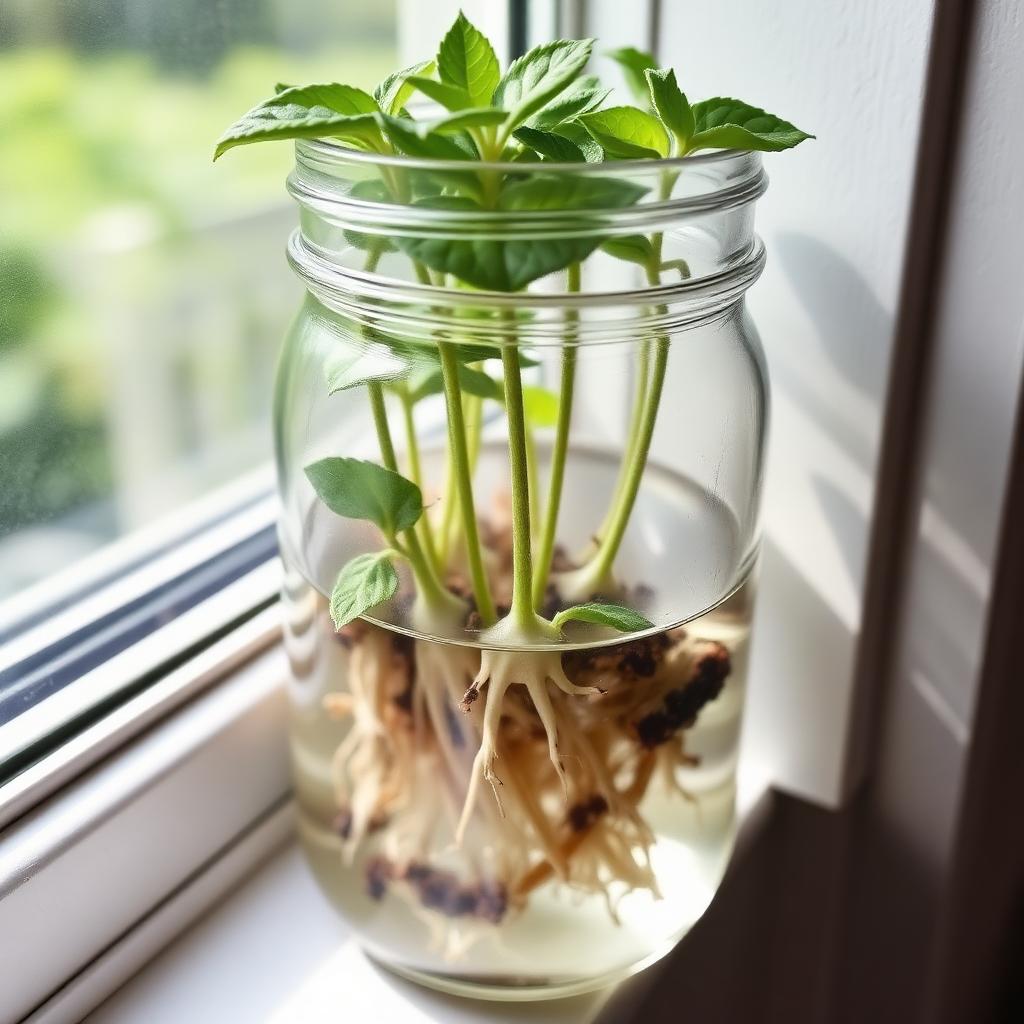
Water rooting is easy to watch and useful as a learning method, but water roots can be delicate when moved into compost. Compost rooting may be better for most garden plants because the roots form directly in the medium the young plant will grow in. The two are not competitors; they suit different plants and different goals.
Water rooting
- Best for
- Soft-stemmed plants, some herbs, certain indoor plants
- Pros
- Easy to monitor, low set-up cost, fun to watch
- Cons
- Water roots are delicate; transplant shock is common
- Beginner friendliness
- High for suitable plants
- When to move on
- Roots small and visible, ideally under 2 cm
- Common mistake
- Letting roots grow long before moving to compost
Compost rooting
- Best for
- Most garden plants and the majority of cuttings
- Pros
- Roots form in the growing medium; less transplant shock
- Cons
- Harder to see progress; easier to overwater
- Beginner friendliness
- High with free-draining cutting compost
- When to move on
- Gentle resistance to a tug and fresh top growth
- Common mistake
- Soggy compost with no airflow
A safe recommendation
Do cuttings need rooting hormone?
Rooting hormone can help some cuttings, particularly slower or woody types, but it is not always necessary. Many soft cuttings root reliably without it when the material is healthy and the conditions are right. Healthy stems, clean tools, free-draining compost, and steady moisture matter more than any product.
- Useful for semi-ripe and hardwood cuttings and for trickier plants
- Often optional for soft cuttings in warm conditions
- Use only as directed on the product label
- Do not treat rooting hormone as a fix for poor material or poor conditions
- Store the product as directed so it stays effective
No miracle mixtures
How long do cuttings take to root?
Rooting time depends on plant, cutting type, temperature, moisture, and season. As a rough guide, softwood cuttings are often the quickest, semi-ripe cuttings are moderate, hardwood cuttings are slower, and root cuttings vary widely. Water cuttings can show visible roots quickly in some plants and slowly in others.
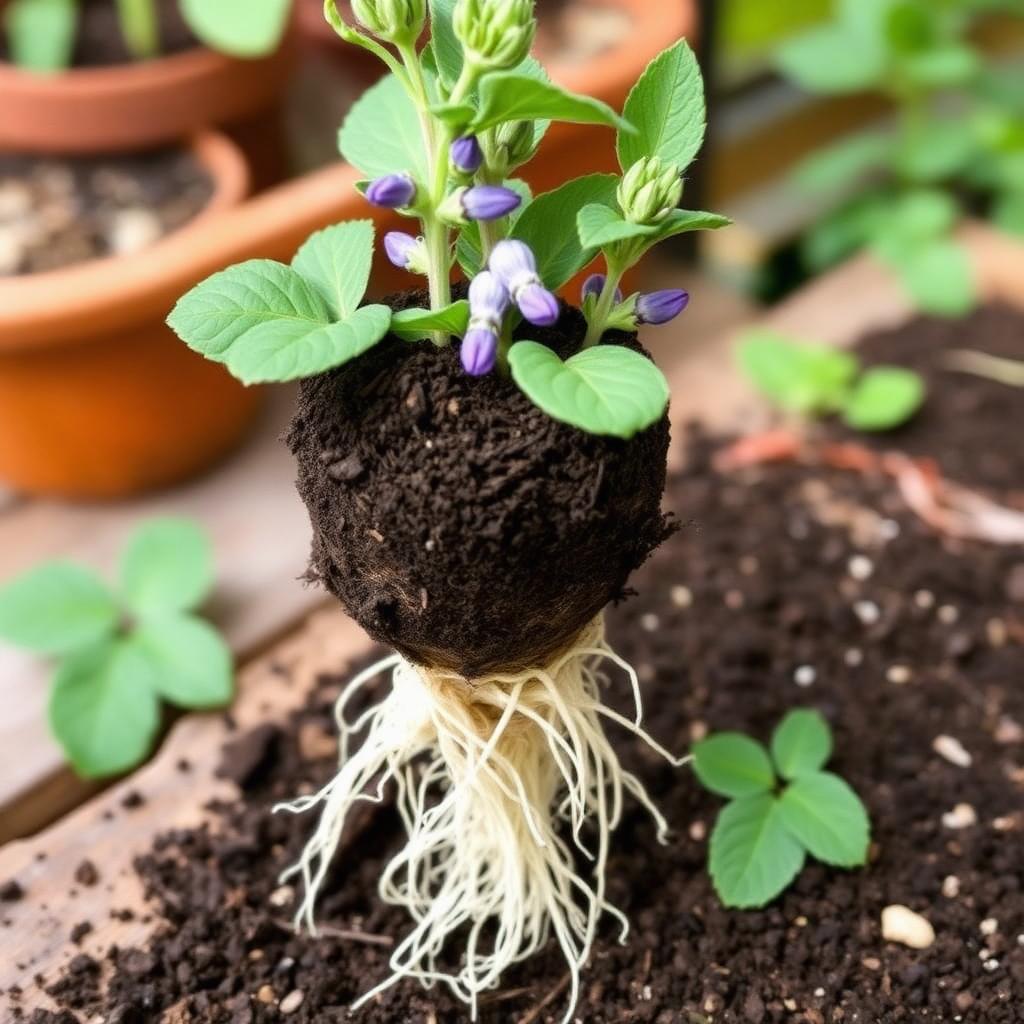
Signs your cuttings are rooting
- The cutting stays firm and upright over time
- Fresh new growth appears at the tip
- There is gentle resistance when you give a very light tug
- Small roots show at the drainage holes underneath
- For water cuttings, roots are visible in the jar
Do not pull cuttings up to check
How to care for cuttings after planting
The first few weeks decide whether young plants thrive or struggle. Cuttings prefer gentle, consistent conditions rather than sudden changes in light, water, or temperature.
Light
Bright indirect light is usually best while cuttings are rooting. Strong direct sun on unrooted cuttings stresses them quickly. A bright but slightly shaded windowsill, greenhouse bench, or sheltered outdoor spot usually works well.
Watering
Keep the medium lightly moist, not soggy. Touch the top of the compost rather than guessing; if it still feels damp, leave it alone. Heavy watering on already-wet compost is one of the most common causes of failure.
Humidity
A clear cover can help with some cuttings, especially in dry indoor air, but stale wet air encourages rot. Use a vented propagator or lift the cover regularly so fresh air can move around the leaves.
Ventilation
Vent covers daily so condensation does not build up. A sealed cover may look tidy but quickly becomes a damp box that favours mould.
Potting on
Pot on when roots are strong enough to hold a small root ball together. A potting-on compost rather than seed and cutting compost gives young plants more nutrients for the next stage.
Hardening off
If young plants will eventually live outside, introduce them gradually to outdoor conditions over a week or two rather than putting them straight out. Sudden cold nights or fierce sun can undo weeks of careful aftercare.
Winter protection
Young cuttings may need shelter until established, especially for tender plants. Keep them frost-free, give as much light as practical, and water sparingly so the compost stays just lightly moist.
Common plant cutting mistakes
Most failed cuttings share a small handful of causes. The grid below names the most common ones with a better approach so you can avoid them on the next batch.
Using weak or diseased growth
Why it causes problems. Stressed parents do not have the energy to support a cutting through rooting.
Better approach. Choose strong, healthy parent plants with plenty of fresh side shoots.
Taking flowering stems
Why it causes problems. The cutting keeps trying to flower instead of focusing on making roots.
Better approach. Remove flowers and flower buds and choose non-flowering side shoots where possible.
Leaving too many leaves
Why it causes problems. Leaves lose water faster than the cut stem can take it up, causing wilt.
Better approach. Strip the lower leaves and trim very large remaining leaves in half if needed.
Using dirty tools
Why it causes problems. Dirty blades can transfer disease and crush stems rather than cutting them.
Better approach. Wipe pruners clean and keep blades sharp for clean cuts that heal quickly.
Letting cuttings dry out before planting
Why it causes problems. Once a soft cutting wilts hard, recovery is unlikely.
Better approach. Prepare cuttings quickly and keep cut material in light shade, not bright sun.
Keeping compost too wet
Why it causes problems. Soggy airless compost suffocates the cut stem and encourages rot.
Better approach. Use free-draining cutting compost and aim for damp, not wet.
Putting cuttings in harsh sun
Why it causes problems. Strong sun cooks unrooted cuttings and dries them out very fast.
Better approach. Place in bright indirect light, sheltered from midday sun and hot wind.
No ventilation under covers
Why it causes problems. Sealed covers trap moisture and create a perfect environment for mould and rot.
Better approach. Use a vented propagator lid or lift the cover daily.
Potting on too early
Why it causes problems. Disturbing a cutting before roots are strong breaks the new roots and sets it back.
Better approach. Wait for clear signs of rooting and a small root ball before moving it on.
Pulling cuttings up repeatedly
Why it causes problems. Each tug damages new roots and slows progress.
Better approach. Check gently once, then leave the pot alone between checks.
Forgetting labels
Why it causes problems. Mystery pots a few weeks later make life harder than it needs to be.
Better approach. Label every pot with the plant and the date as you plant.
Expecting every cutting to root
Why it causes problems. Some losses are normal and not a sign of failure.
Better approach. Take several cuttings so a few losses do not matter.
The two big causes of failure
Easy plants to propagate from cuttings
The plants below are reliably easy from cuttings in many gardens. Methods vary by plant, and a plant that roots easily in water may not represent every garden cutting, so use this as a starting point and check your variety before assuming the same technique will suit a related species.
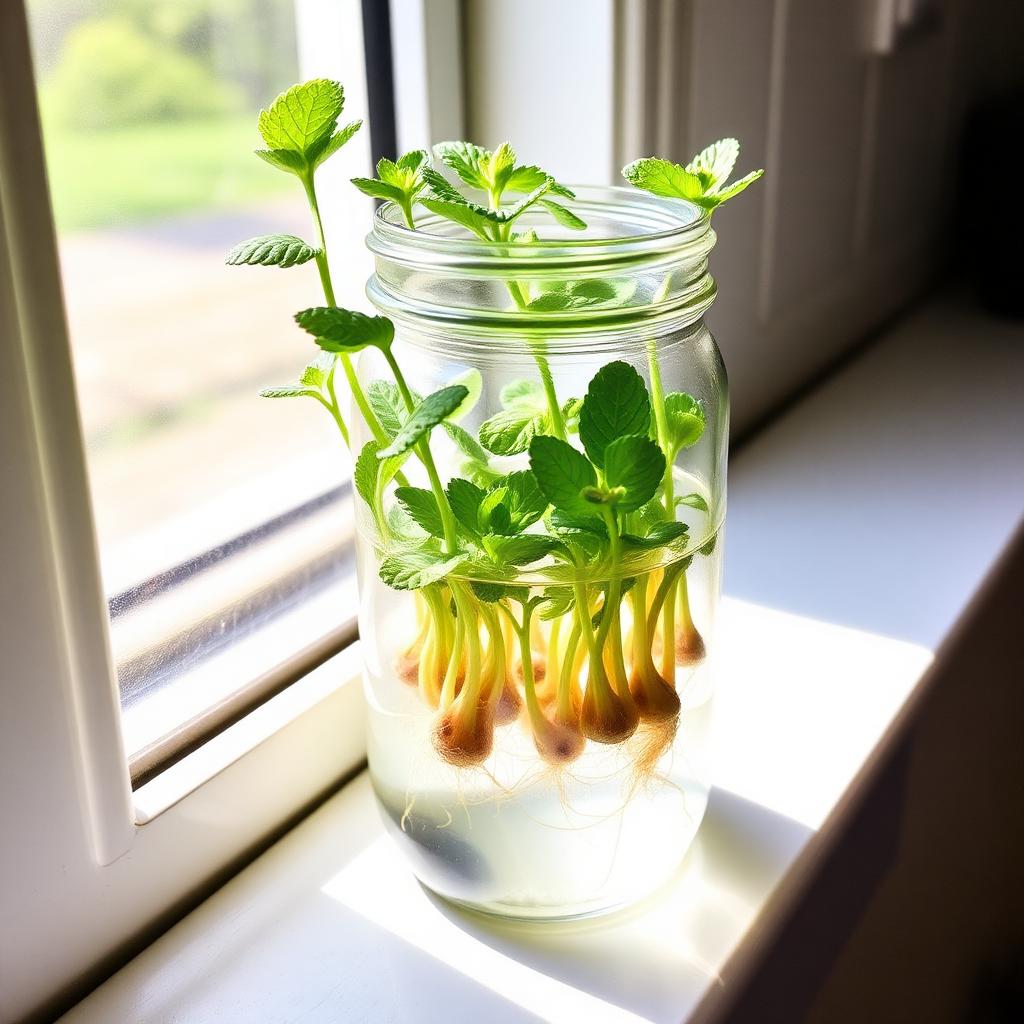
Mint
- Best cutting
- Soft stem cutting
- Best timing
- Spring to early autumn
- Difficulty
- Easy
- Water or compost
- Either, very forgiving
Why it works. Vigorous soft growth roots quickly in clean water or in free-draining compost.
Beginner note. Use several short cuttings rather than one long stem.
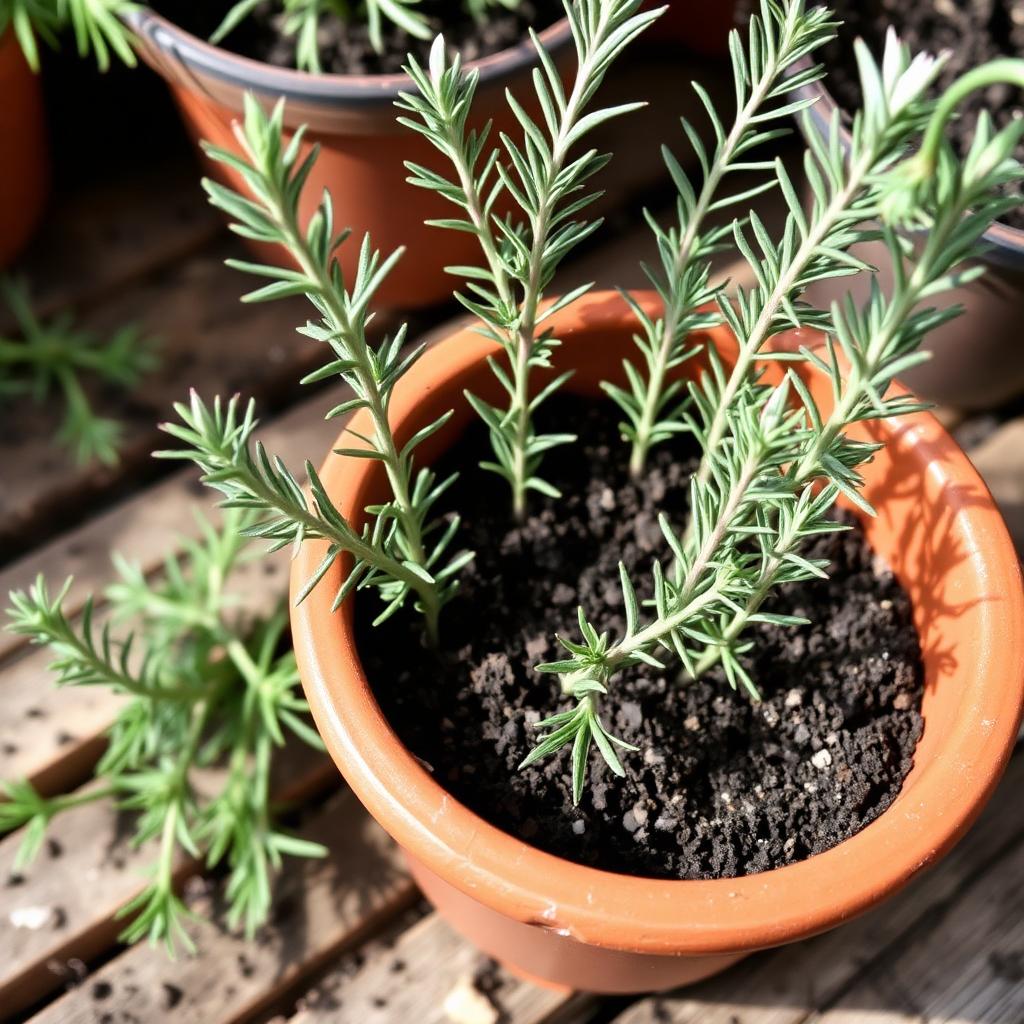
Rosemary
- Best cutting
- Soft tip or semi-ripe side shoot
- Best timing
- Late spring to late summer
- Difficulty
- Easy
- Water or compost
- Compost is more reliable
Why it works. Aromatic shrubby herb that takes well from short side shoots in cutting compost.
Beginner note. Strip the lower needles cleanly to reduce rot at the base.
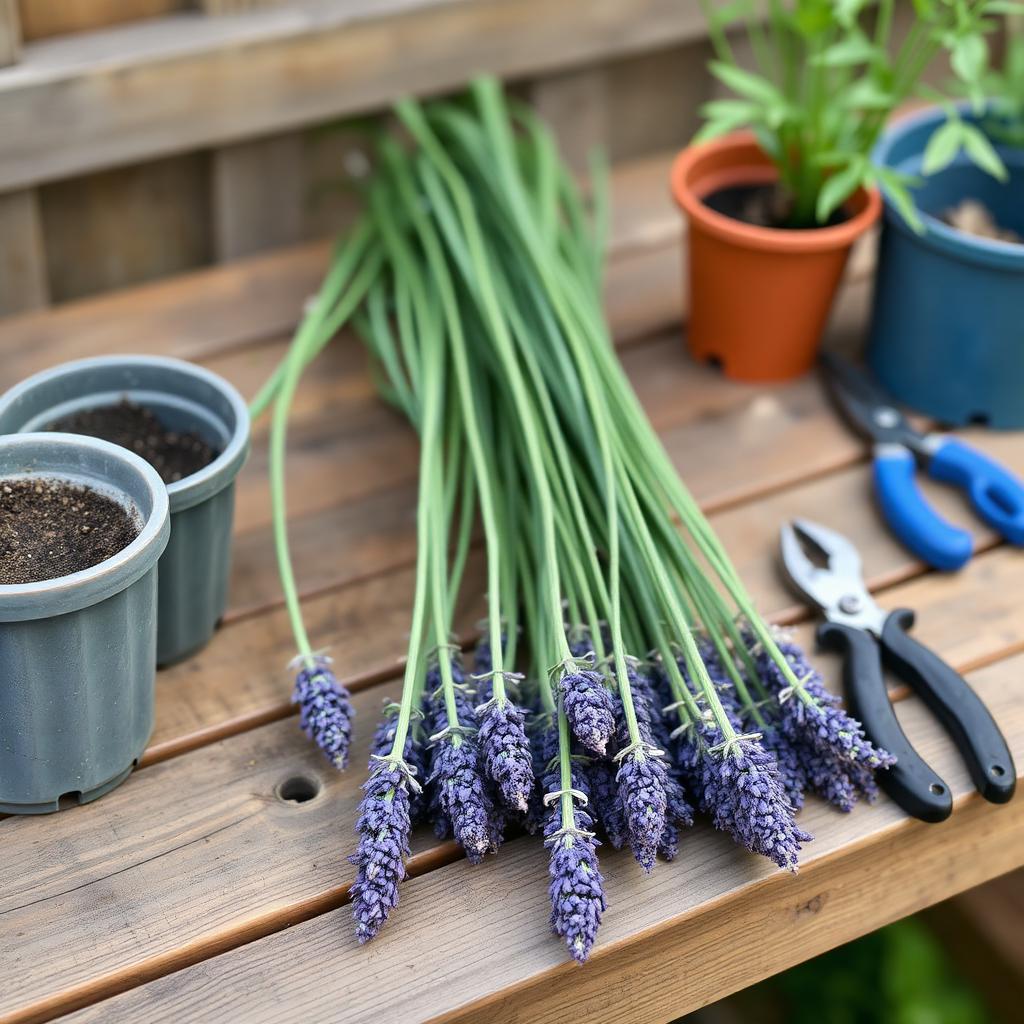
Lavender
- Best cutting
- Semi-ripe side shoot
- Best timing
- Summer
- Difficulty
- Easy
- Water or compost
- Free-draining compost
Why it works. Firm semi-ripe shoots of lavender root well in gritty cutting compost.
Beginner note. Avoid taking very woody pieces; choose this season's firm growth.
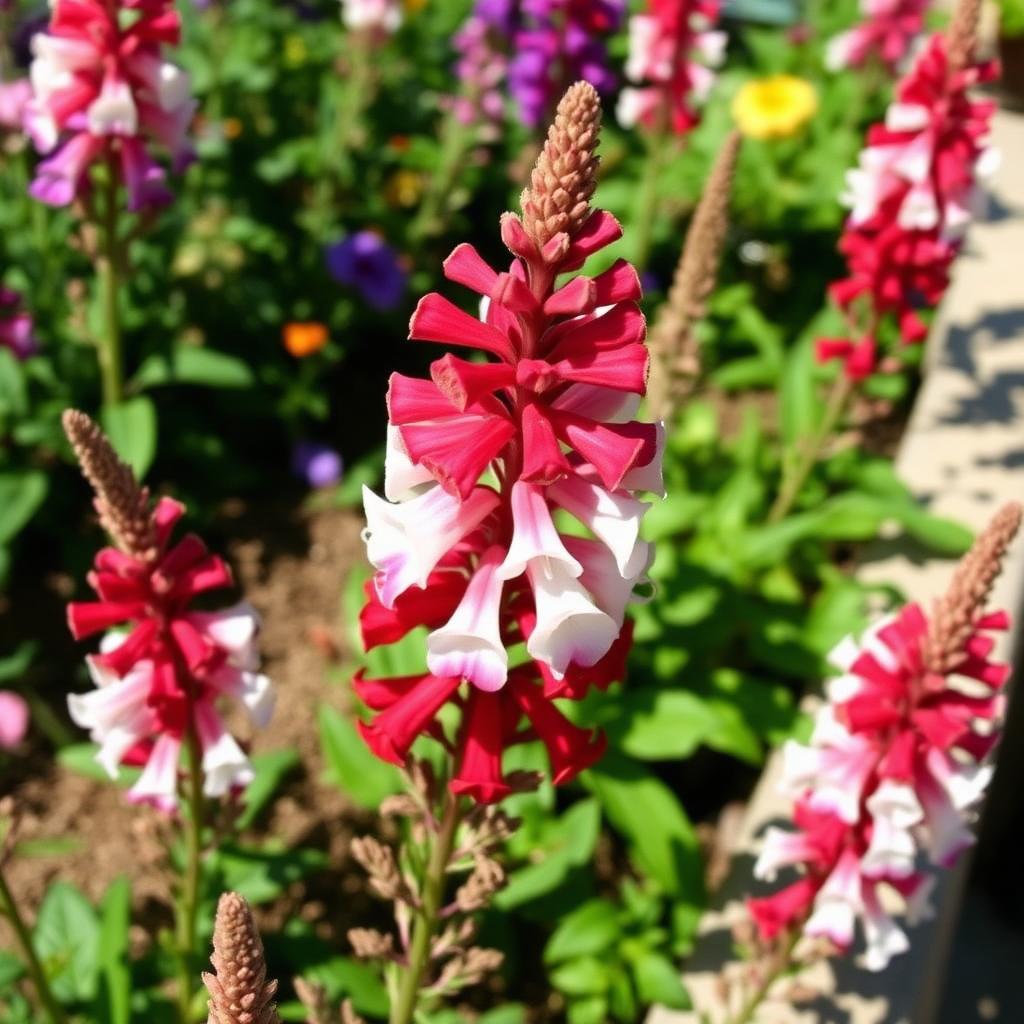
Salvia (ornamental)
- Best cutting
- Soft tip or semi-ripe side shoot
- Best timing
- Late spring to early autumn
- Difficulty
- Easy
- Water or compost
- Compost is the safer main method
Why it works. Shrubby ornamental salvias such as microphylla and 'Hot Lips' propagate reliably.
Beginner note. Take cuttings as insurance for tender favourites before cold weather.
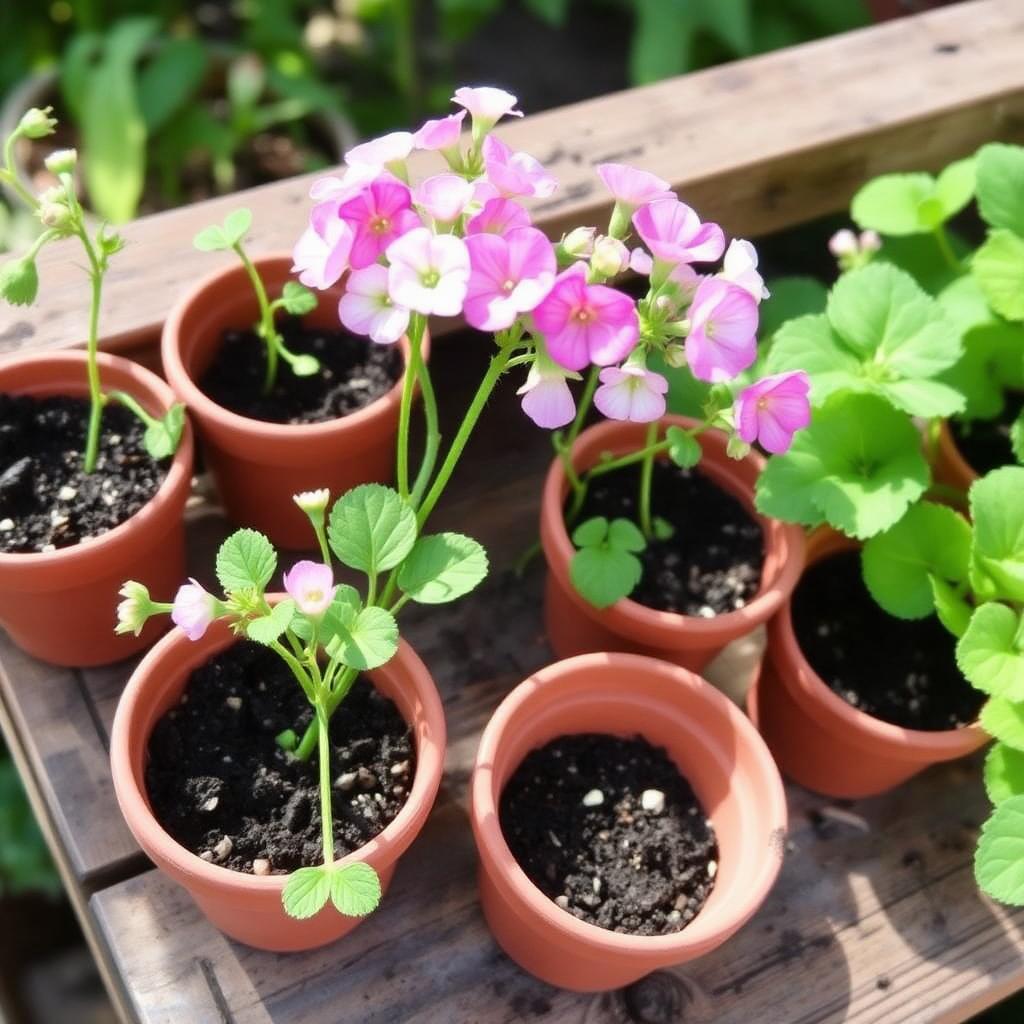
Pelargonium
- Best cutting
- Soft stem cutting
- Best timing
- Spring to summer
- Difficulty
- Easy
- Water or compost
- Compost, lightly moist
Why it works. Pelargoniums root quickly and are commonly grown from cuttings each year.
Beginner note. Let the cut end dry briefly before planting to help prevent rot.
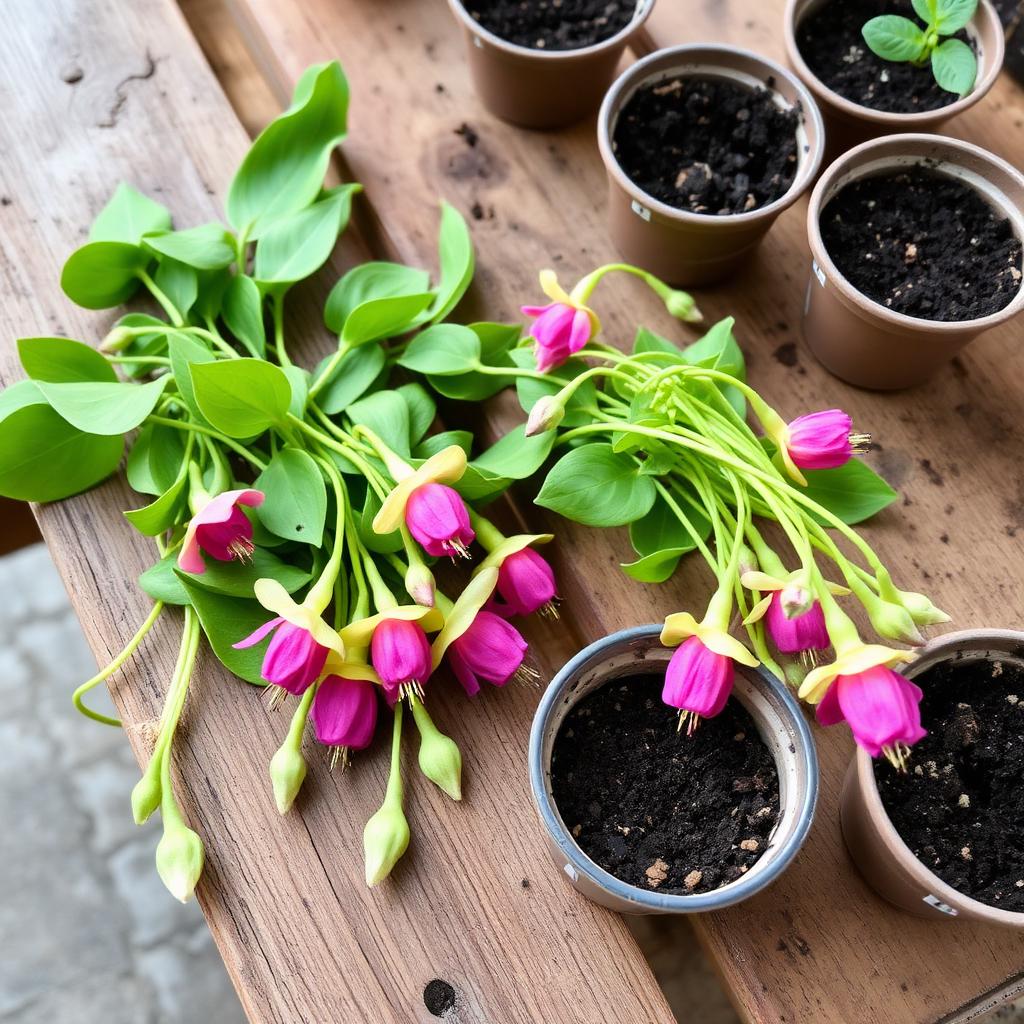
Fuchsia
- Best cutting
- Soft stem cutting
- Best timing
- Spring to summer
- Difficulty
- Easy
- Water or compost
- Compost with gentle humidity
Why it works. Soft non-flowering side shoots root readily in warm conditions.
Beginner note. Remove any flower buds so energy goes into roots.
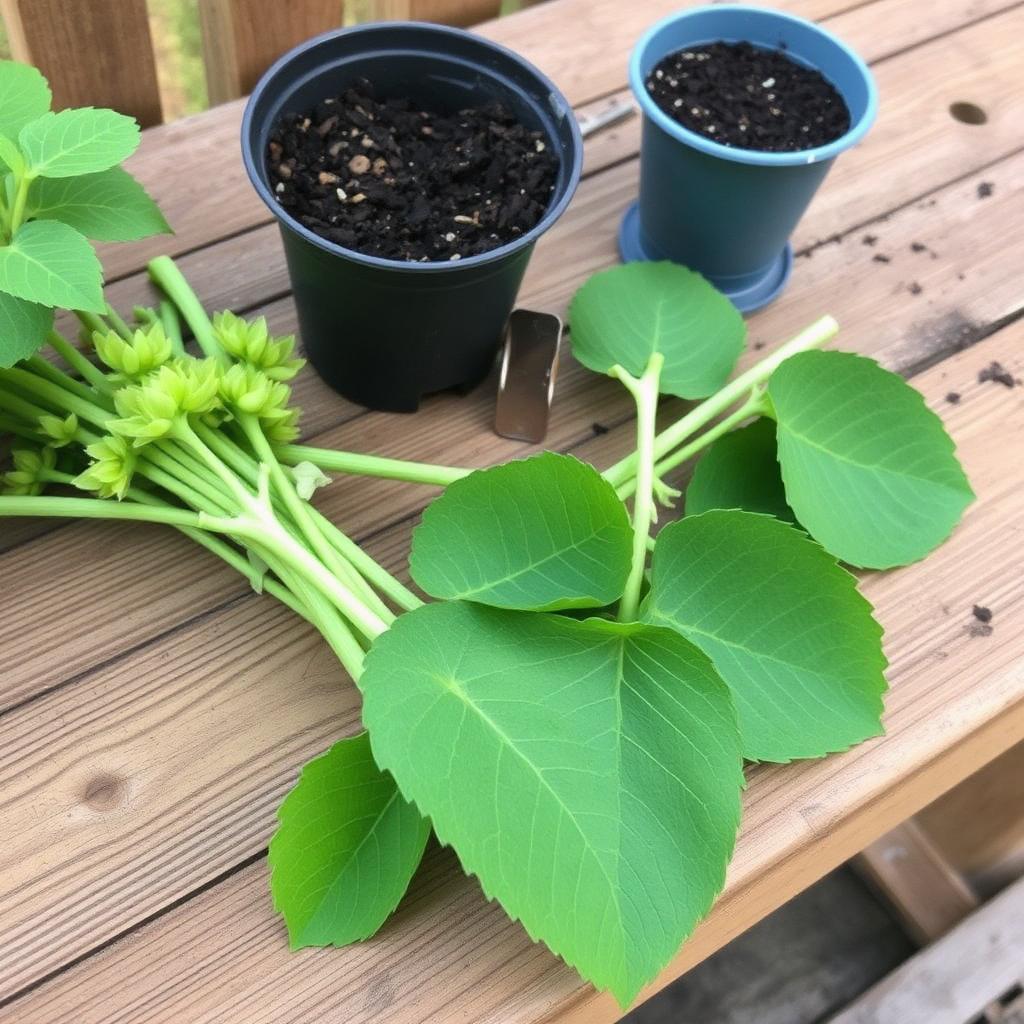
Hydrangea
- Best cutting
- Softwood cutting
- Best timing
- Late spring to early summer
- Difficulty
- Easy
- Water or compost
- Compost with humidity
Why it works. Soft new shoots root well when leaves are trimmed in half to reduce wilt.
Beginner note. Cover loosely with a vented clear bag for the first week.
Willow
- Best cutting
- Hardwood cutting
- Best timing
- Late autumn to winter
- Difficulty
- Easy
- Water or compost
- Outdoor soil or deep pot
Why it works. Willow contains natural rooting compounds and is famously easy from hardwood.
Beginner note. Push pencil-thick dormant cuttings into firm soil and wait.
Forsythia
- Best cutting
- Hardwood cutting
- Best timing
- Late autumn to winter
- Difficulty
- Easy
- Water or compost
- Outdoor soil or deep pot
Why it works. A classic beginner shrub for hardwood cuttings, with reliable spring rooting.
Beginner note. Label everything; leafless cuttings look almost identical.
Coleus
- Best cutting
- Soft stem cutting
- Best timing
- Active growing season
- Difficulty
- Easy
- Water or compost
- Either
Why it works. Bright leafy growth roots quickly in water or in cutting compost.
Beginner note. Pinch the tops of young plants to encourage bushy growth.
Sedum
- Best cutting
- Stem or leaf cutting
- Best timing
- Active growing season
- Difficulty
- Easy
- Water or compost
- Gritty compost, lightly moist
Why it works. Forgiving fleshy growth that tolerates dry conditions while rooting.
Beginner note. Let cuttings callus for a day before planting to reduce rot.
Succulents (suitable types)
- Best cutting
- Leaf or stem cutting
- Best timing
- Active growing season
- Difficulty
- Moderate
- Water or compost
- Gritty compost, sparingly watered
Why it works. Many succulents can grow from a callused leaf or short stem section.
Beginner note. Always allow a cut surface to dry before placing on compost.
Methods vary by plant
Troubleshooting plant cuttings
If something has gone wrong, work through the most likely cause before changing everything at once. Most issues come down to water, light, or the condition of the cutting material itself.
Cutting wilts immediately
Why it causes problems. Water loss is faster than uptake, often from too many leaves, harsh sun, or hot dry air.
Better approach. Reduce leaf area, move to bright indirect light, and water the compost lightly.
Stem turns black at the base
Why it causes problems. Rot, often from soggy compost, dirty tools, or weak material.
Better approach. Remove the affected cutting, use fresh compost, and aim for damp rather than wet.
Leaves yellow on the cutting
Why it causes problems. Stress from water imbalance, low light, or simple ageing of older leaves.
Better approach. Check moisture and light, remove yellow leaves gently, and watch new growth at the tip.
Cutting rots at the base
Why it causes problems. Combined wet compost and poor airflow are the usual culprits.
Better approach. Improve drainage, vent any cover, and use fewer cuttings per pot.
No roots after several weeks
Why it causes problems. Cool temperatures, very woody material, or repeated disturbance can all slow rooting.
Better approach. Be patient, leave the pot alone between gentle checks, and give it warmth and light.
Mould appears on the compost surface
Why it causes problems. Too much trapped moisture and not enough airflow.
Better approach. Lift the cover more often, reduce watering, and remove any visibly mouldy material.
Cutting grows then suddenly collapses
Why it causes problems. Possible base rot below the surface even though the top looked fine for a while.
Better approach. Check the stem at compost level; healthy material is firm and green, not soft and brown.
Water-rooted cutting struggles in compost
Why it causes problems. Delicate water roots can break, and the cutting must build new soil-style roots.
Better approach. Move while roots are short, keep compost evenly moist, and expect a slower start.
Leaves drop on a young cutting
Why it causes problems. Stress from a sudden change in light, temperature, or moisture.
Better approach. Keep conditions steady and avoid moving the pot around too often.
Cutting dries before rooting
Why it causes problems. Long preparation time, exposed bench, or hot dry air pulled too much water out.
Better approach. Prepare smaller batches faster and keep cut material in light shade until potted.
Useful supplies for taking plant cuttings
Affiliate disclosure. Blooming Lucky may earn a commission if you buy through some links, at no extra cost to you.
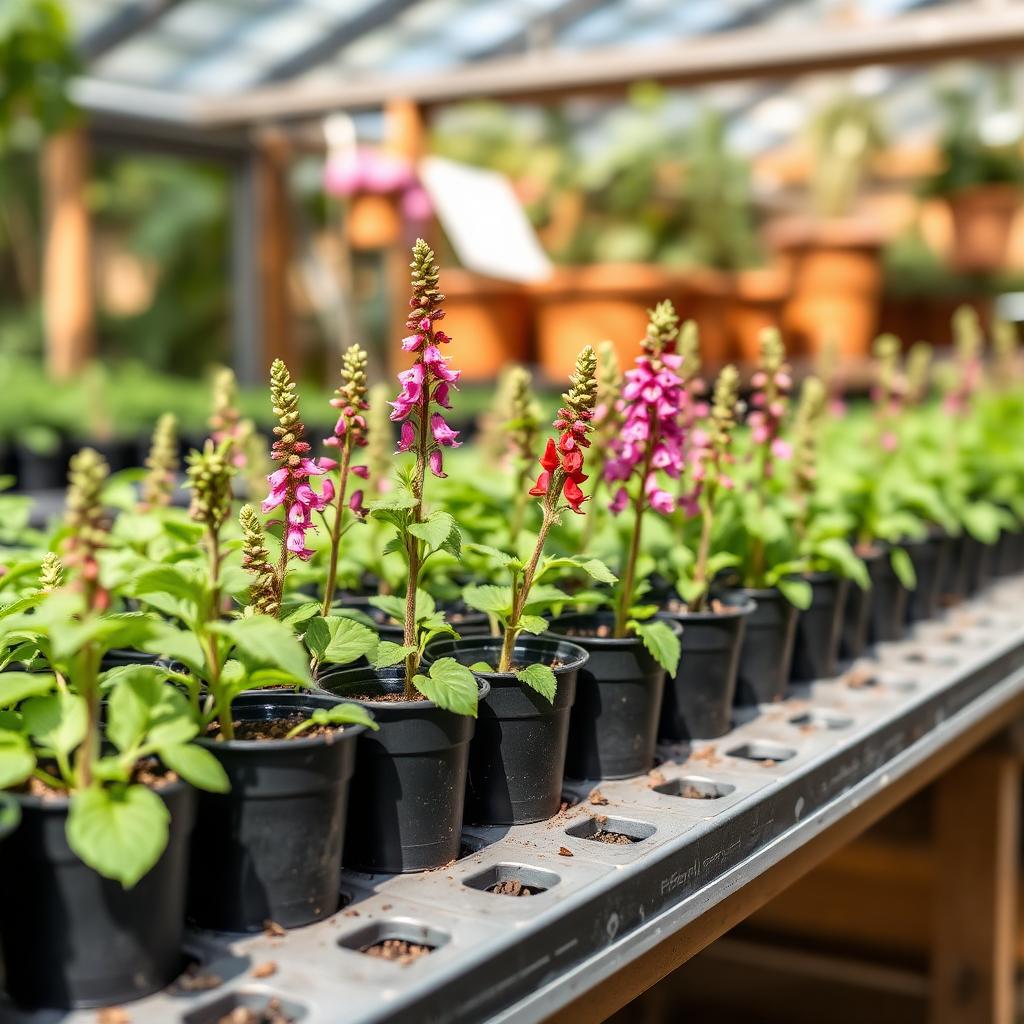
Best beginner cutting setup
Beginners do best with one calm setup rather than every method at once. Choose an easy plant, prepare a small batch of healthy non-flowering stem cuttings, use a small pot of free-draining cutting compost, and place them in a bright sheltered spot. The two cards below show a reliable compost setup and a small water experiment to run alongside it.
A reliable compost setup
- Choose an easy plant such as mint, coleus, pelargonium, salvia, or rosemary
- Take several healthy non-flowering stem cuttings, not just one
- Remove the lower leaves and any flower buds
- Use free-draining seed and cutting compost in a small pot
- Insert cuttings around the edge of the pot
- Water lightly so the compost settles, then leave alone
- Keep in bright indirect light, sheltered from harsh sun
- Vent any clear cover daily to keep airflow
- Pot on individually after roots form
A small water experiment
- Choose a soft-stemmed plant suited to water rooting
- Use a clean glass of room-temperature water
- Strip any leaves that would sit below the water line
- Keep on a bright windowsill out of harsh sun
- Change the water every few days so it stays fresh
- Move to compost while roots are small and white
- Keep the compost evenly moist as the cutting adjusts
- Treat it as a learning experiment, not the main method
Once one batch has worked, try a slightly trickier plant or a different method. A simple, clean approach beats chasing every clever trick at once.
Frequently asked questions
What are plant cuttings?
How do you take plant cuttings?
What is the easiest plant cutting method?
When should you take plant cuttings?
Can plant cuttings root in water?
Is it better to root cuttings in water or compost?
How long do cuttings take to root?
Do cuttings need rooting hormone?
What are softwood cuttings?
What are hardwood cuttings?
What are root cuttings?
Why are my cuttings wilting?
Why are my cuttings rotting?
Why are my cuttings not rooting?
When should you pot on rooted cuttings?
Final advice
Start with healthy plant material, use clean tools, and remove the lower leaves so a clean section of stem goes into the medium. Choose the right cutting type for the plant, use water only for suitable plants and experiments, and use free-draining compost for most garden cuttings. Keep cuttings bright but out of harsh sun, keep moisture steady rather than soggy, and label everything as you go.
Take extra cuttings because some losses are normal, and remember that a simple clean method works better than chasing complicated propagation tricks. With a calm setup and a little patience, taking cuttings stops feeling like a gamble and becomes a useful gardening habit that quietly fills the garden with plants you already love.
Related reads
Keep reading
- How-ToHow-to gardening guidesStep-by-step gardening guides for real homes and gardens.Read guide
- ToolsTools and productsPractical gardening tools and supplies that make everyday jobs easier.Read guide
- PlantsAll Blooming Lucky plant guidesBrowse the full library of plant guides for every part of the garden.Read guide
- How-ToHow to take salvia cuttingsA focused guide to propagating ornamental salvias from cuttings.Read guide
- PlantsHow to grow clematisCare, pruning groups, pots, and common clematis problems explained.Read guide
- PlantsHow to grow sunflowersA practical guide to growing sunflowers and choosing the right variety.Read guide
Looking for more practical gardening guides? Visit the How-To Guides hub.